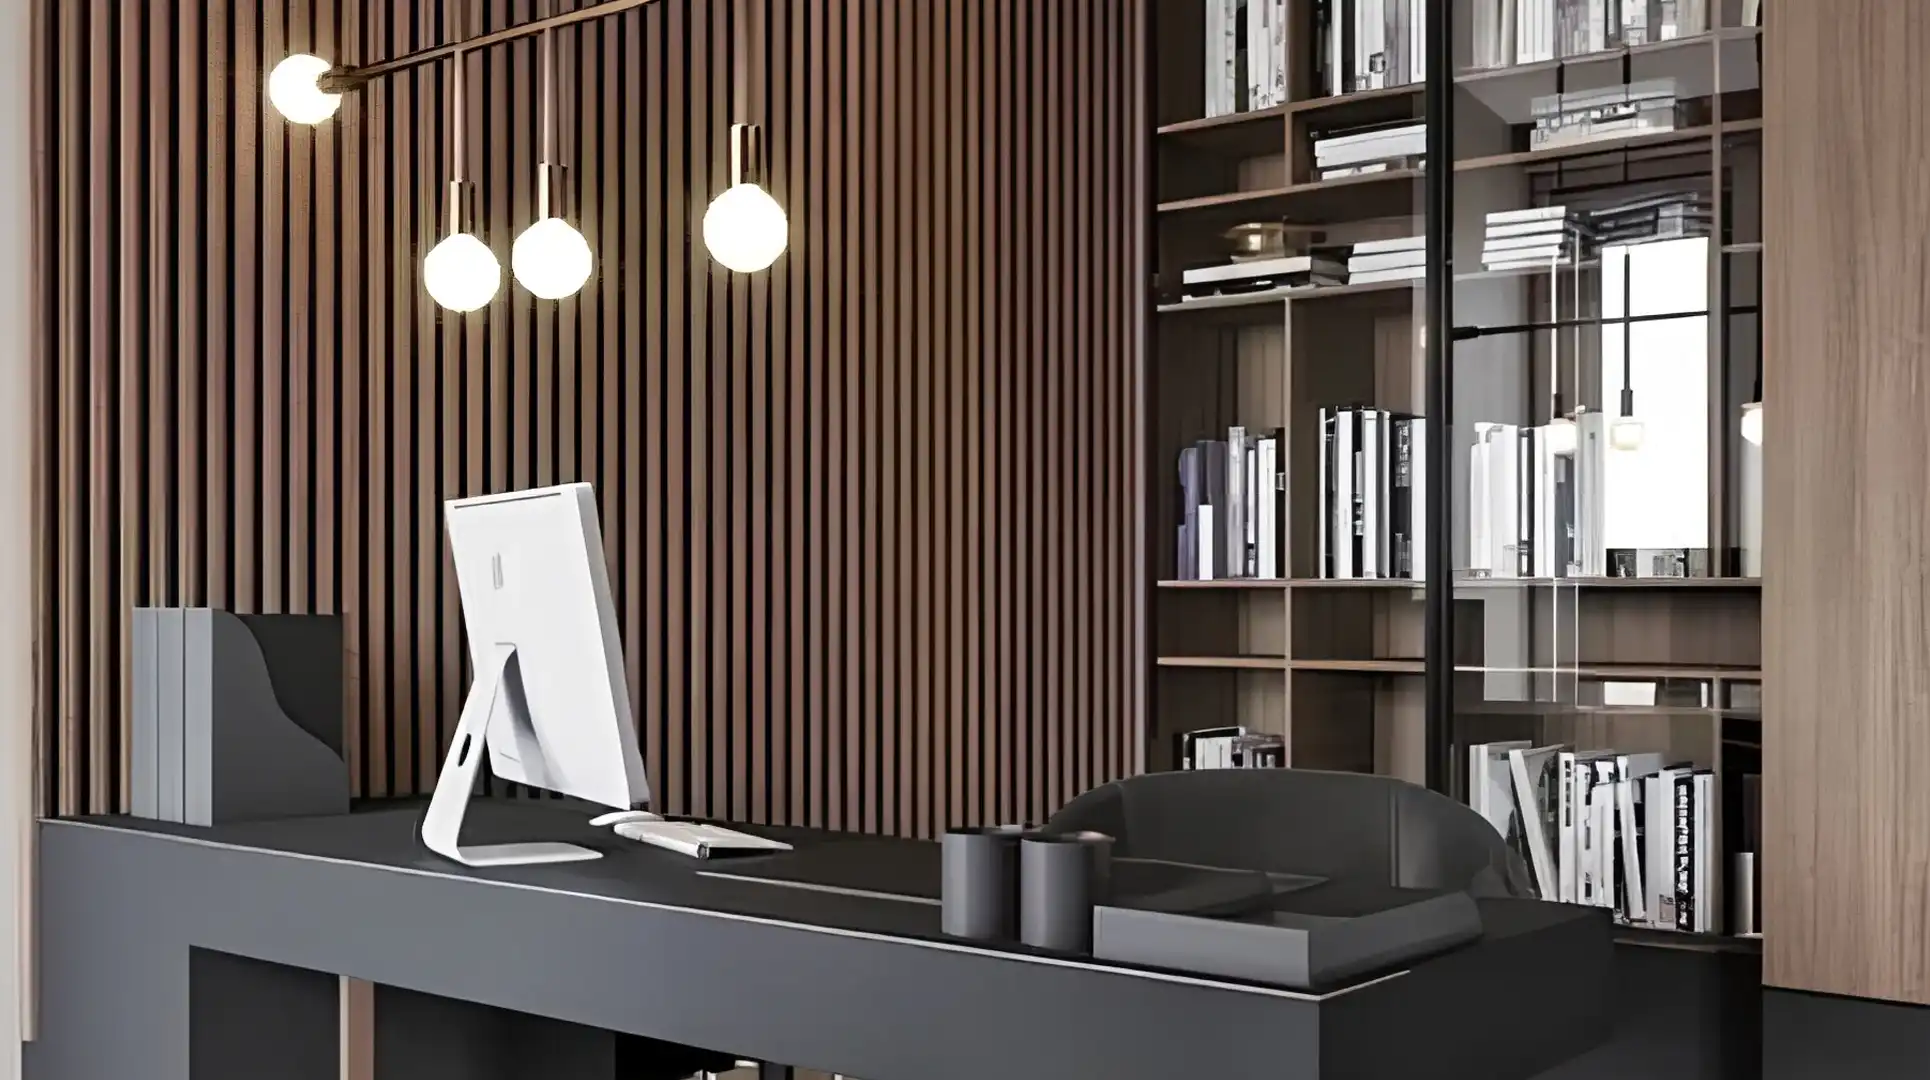
WPC WALL CLADDING

Walls with depth. Spaces with character.

WPC wall cladding shaped around the architecture, bringing warmth, texture and a refined sense of depth to interior and exterior spaces.

Application Wall Cladding
Service Supply & Installation
Scroll to explore
Designed Around the Wall

More than a surface finish.

The character of a cladded wall is shaped by more than the material itself. Direction, proportions, profile rhythm, corners and the surrounding finishes all influence the final composition.

01

Direction

Vertical or horizontal layouts change how the proportions of the wall are perceived.

02

Profile Rhythm

Profile width, depth and repetition define the texture and visual character of the surface.

03

Corners & Transitions

Edges and junctions are considered as part of the composition, not treated as an afterthought.

04

Surrounding Materials

Stone, glass, lighting and other finishes are considered together with the cladding.

WPC wall cladding integrated into an architectural interior
02
Wall Composition Profile. Direction. Detail.
Close-up of WPC cladding texture
DETAIL

The final impression is created through proportion, texture and precision.

Where Wall Cladding Works

One material. Different expressions.

Wall cladding can shift from a subtle architectural layer to a defining feature of the space. The application, profile and direction are selected around where the material will be experienced.

03 / APPLICATION
WPC cladding used on an architectural feature wall
01 Interior / Architectural

Feature Walls

Use texture, depth and direction to create a deliberate focal point within the space.

WPC wall cladding around a building entrance
02

Entrances

Introduce warmth and material contrast at residential or commercial entrances.

Interior WPC architectural wall detail
03

Interior Details

Selective wall treatments that support the wider interior composition.

WPC cladding installed on an outdoor wall
04

Outdoor Walls

Suitable exterior wall applications selected according to the project conditions.

WPC wall cladding in a covered outdoor living area
05 Transitional Space

Covered Outdoor Areas

Extend the material language through terraces, pergola zones and sheltered outdoor spaces.

Decorative WPC wall cladding surface
06

Decorative Surfaces

Add architectural texture to selected surfaces without overwhelming the space.

WALL / CLADDING / 03

The right application begins with the space — not with a standard profile.

Selected Cladding Projects

Walls shaped by material and proportion.

A closer look at how wall cladding becomes part of the architecture through profile selection, direction, detailing and precise installation.

View All Projects
Project Approach

Each wall is considered as part of the complete space — from the first measurement to the final edge.

Discuss a Similar Project
Why WPC Wall Cladding

Performance behind the finish.

The visual character is only part of the material story. WPC cladding combines a wood-inspired appearance with practical characteristics suited to a range of interior and exterior applications.

05 Material / Performance
01

Moisture Resistant

+

Suitable WPC profiles offer strong resistance to moisture, making them practical for demanding wall applications.

02

Weather Resistant

+

Selected profiles are designed for exterior conditions and changing weather exposure.

03

UV-Resistant Options

+

Outdoor-oriented WPC options are available with resistance designed for UV exposure.

04

Dimensional Stability

+

The material is designed to maintain a more consistent form without the common warping, twisting or bowing associated with natural timber.

05

Low-Maintenance Care

+

Routine cleaning is generally sufficient to keep the finished surface looking its best.

06

Multiple Finishes

+

Different tones, textures and profiles allow the cladding to respond to different architectural directions.

MATERIAL PERFORMANCE DETAIL
Materials & Finishes

The character is in the detail.

Color is only one part of the finished wall. Profile, texture, depth and direction work together to define how the cladding feels within the architecture.

06 / MATERIAL LANGUAGE
WPC wall cladding profile detail
01 / PROFILE Form shapes the rhythm.
01

Shape defines the rhythm.

Different profiles create different levels of depth, repetition and shadow across the finished wall.

Flat 01
Fluted 02
Wood-Grain 03
Wide Profiles 04
Narrow Profiles 05
Close-up WPC wall cladding texture
Material Detail

Selection is defined around the application and intended visual result.

Texture / Depth
WPC wall cladding finish detail
02 / FINISH Texture changes the surface.
02

Texture changes the surface.

The selected finish influences how light moves across the profile and how the material is experienced up close.

Groove 01
Sanded 02
Embossed 03
3D Embossed 04
Wood Grain 05
WPC wall cladding colors and tones
03 / COLOR Tone completes the composition.
03

Tone completes the composition.

Warm, natural and neutral tones allow the wall to either blend into the space or create deliberate contrast.

Brown
Red Pine
Teak
Oak
Light Grey
Black

Colors shown on screen are indicative. Actual material appearance may vary according to finish, lighting and production batch.

Selection Philosophy

We select the material around the space, not the other way around.

WALL / CLADDING / 06
The Detail Behind the Finish

What you see. And what makes it work.

A clean finished wall depends on what happens behind the surface. The supporting structure, fixing method, alignment and edge treatment are coordinated before the final cladding takes shape.

SYSTEM / ALIGNMENT / FINISH
01 Existing Wall
02 Substructure
03 Fixing
04 WPC Profile
05 Finished Edge
01 / EXISTING SURFACE The installation starts with the wall.
Detail of WPC wall cladding installation
Installation Detail

Structure, alignment and finishing work together behind the final surface.

07

Precision behind the surface creates clarity in the finished wall.

Exact installation details are defined according to profile and site conditions.
Built From the Base Up

The finished wall starts long before the finish.

A refined result depends on decisions made before the first visible profile is installed. Surface condition, structure, alignment and finishing are considered as one coordinated sequence.

FROM PREPARATION TO FINISH
WPC wall cladding installation process
01 / 04
Process Overview Good installation begins before the first visible profile is fixed in place.
EXECUTION PRINCIPLE

Accuracy at the beginning reduces compromise in the finished composition.

01
Preparation

Wall Assessment

The existing surface is reviewed to understand its condition, dimensions and installation requirements.

Understand the surface before defining the system.

02
Structure

Substructure Planning

The supporting system is prepared to create the correct base for the selected cladding application.

Build a controlled base for the selected application.

03
Installation

Alignment & Rhythm

Direction, level and profile repetition are controlled throughout installation to maintain a consistent composition.

Control every line as the wall develops.

04
Completion

Final Detailing

Corners, transitions and exposed edges are completed with the same attention as the main wall surface.

Complete the wall through edges, transitions and finish.

08

Good installation should disappear into the finished result.

Assessment Structure Alignment Finish
Before / After

See the wall take shape.

From the original surface to the finished composition. Drag across the image to explore the transformation.

Drag to compare
Completed WPC wall cladding installation After
Wall before WPC cladding installation Before
09
Transformation Existing Wall → WPC Cladding
Project Private Residence
Application Wall Cladding
Location Project Location
The Result

A different surface. A different character.

Discuss a Similar Project
From Site to Finished Wall

A clear process. A considered result.

Every wall cladding project moves through a coordinated process — from understanding the space to material selection, installation and final handover.

07 STEPS / ONE COMPLETE SCOPE
07
Complete Process

From the first conversation to the finished wall.

CONSULT / DEFINE / SELECT / EXECUTE / COMPLETE
01
First Step

Consultation

We start by understanding the wall, the space and the result you want to achieve.

Start
02
Site Understanding

Site Visit

The site is reviewed to understand dimensions, existing surfaces and installation conditions.

Site
03
Project Definition

Measurements

Accurate measurements are taken before quantities and installation details are finalized.

Define
05
Scope Confirmation

Quotation

A project-specific quotation is prepared according to the confirmed scope and requirements.

Confirm
07
Completion

Handover & Support

The completed installation is reviewed before handover, followed by warranty and after-sales support.

Complete
10

One coordinated process, from the first conversation to the final wall.

DECORRA / WALL CLADDING
Warranty & Support
11 / 12
5
Years Warranty

Material & installation. Covered with confidence.

Every Decorra wall cladding installation is backed by a 5-year warranty covering the supplied material and installation, subject to the applicable project terms.

After-Sales Support

Maintenance visits and after-sales support are available when required.

Start Your Project
MATERIAL INSTALLATION WARRANTY AFTER-SALES
Completed WPC poolside decking installation
Start a Project

Ready to rethink your poolside space?

Share your space with our team. We’ll review the project, understand the site conditions and help define the right WPC decking solution for the finished environment.

WPC Supply & Professional Installation Across Egypt
Poolside Decking / 12